How to make a dog agility course at home
You’ve already read about the benefits of agility training for your dog.
Now you want to get your dog into agility training and have decided to go it alone.
Awesome!
Making an agility course for your dog at home can be very rewarding.
It puts you in even more control of your dog’s development and the strengthening of your partnership. It allows you to pay special attention to their unique strengths and weaknesses, building confidence between the two of you.
However, to start you’ll need some specific supplies. Don’t worry though we’ve got you covered!
In this post, we will cover the necessary steps to make a dog agility course at home. We’ll break down the standard obstacles to include in your course, the materials you need to make them, and the basics of setting up the course on your own.
Basic agility course obstacle equipment
The basic agility course consists of these essential obstacles:
- Weave Poles
- Standard Jump
- Tire Jump
- Tunnels
- Teeterboard
- Pause Table
- Dogwalk
You can order these agility course supplies in a DIY kit but they can be a bit pricey. However, with a little bit of elbow grease and some know-how, you can create your own agility course for a fraction of the kit prices.
Many of the materials needed to build your shiny new personal backyard agility course can be purchased at local hardware stores, yard sales, or even found lying around your home.
Let’s get started!
 Increase your jump height at home and soon enough your dog will jump this high! Image by: SheltieBoy
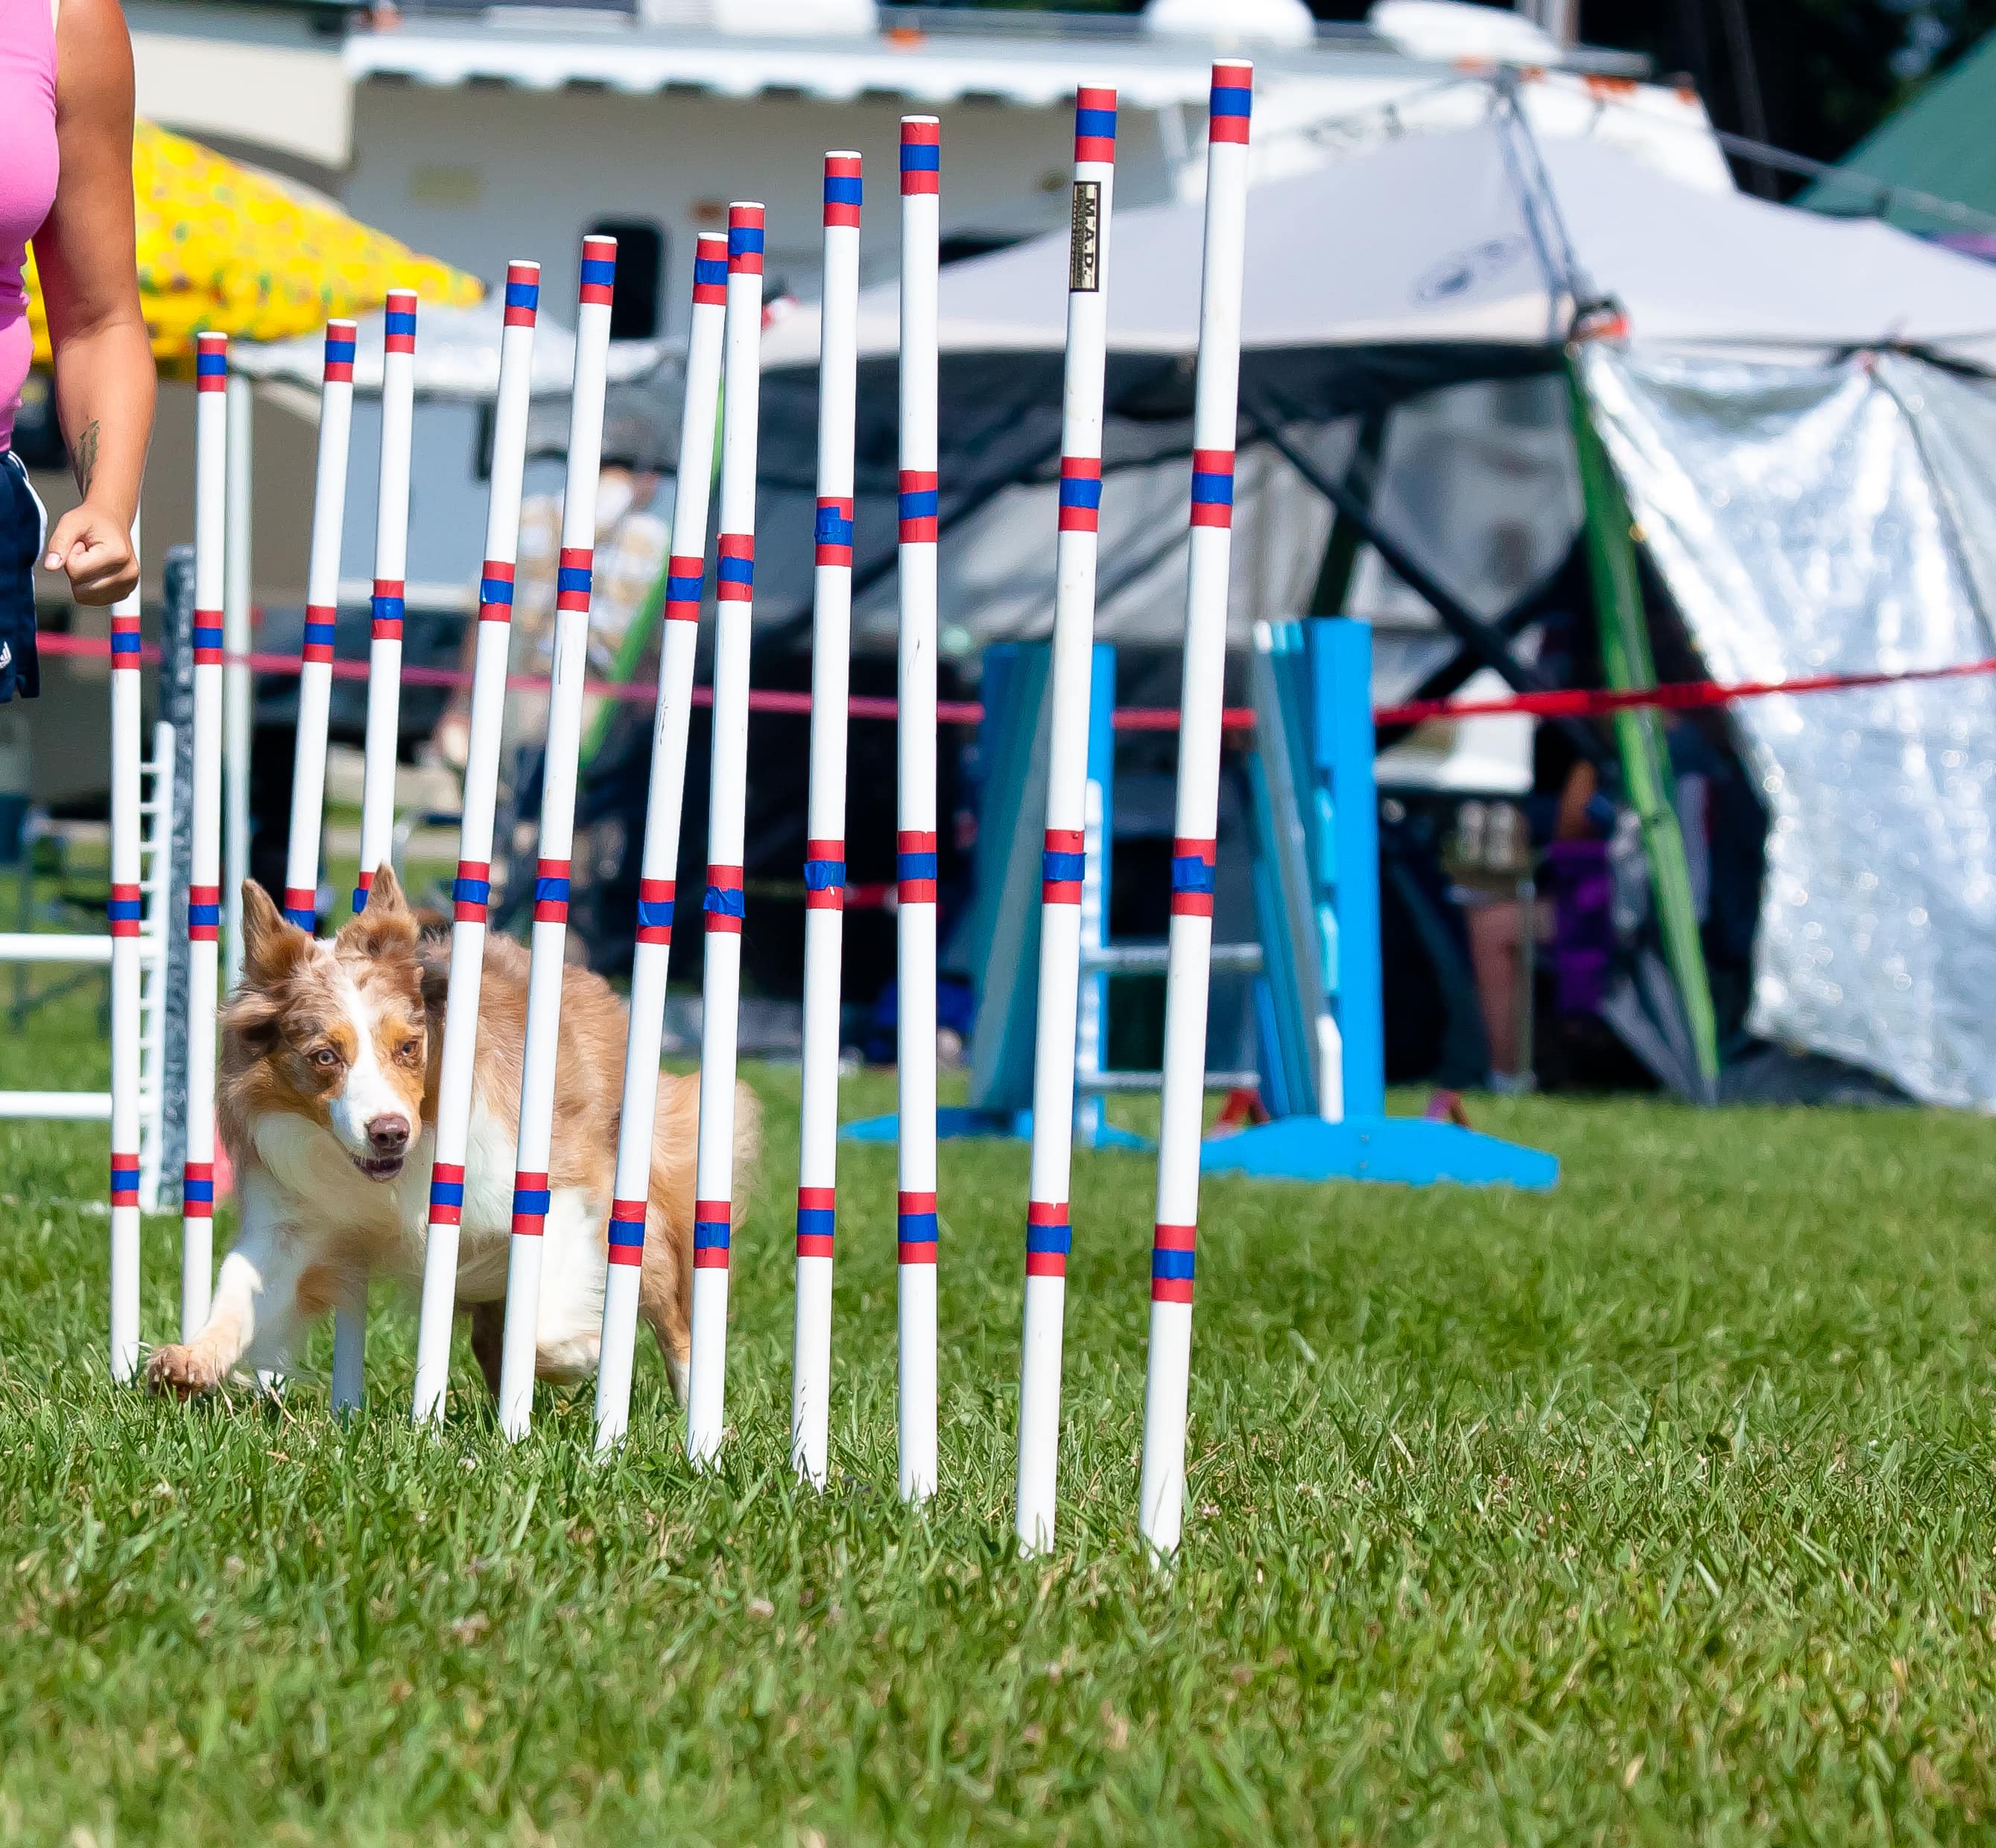
Weave poles
The weave poles test your dog’s ability to navigate around the configuration of the standing poles.
You can make DIY weave poles yourself from 3/4” or 1” PVC piping.
- Cut the PVC pipe into pieces 36” long. You’ll need 6 pieces.
- Layout the poles in a straight line and mark off every 24”. Most governing competition bodies use 24” as the standard spacing.
- Insert them into the ground with a mallet or hammer.
This YouTube video shows just how simple it is to create the weave pole obstacle.
Note: The video uses rebar to make their poles more secure. You can do this but you can also just use PVC by itself as long as you pound the poles into the ground deep enough (approximately 8-10”).
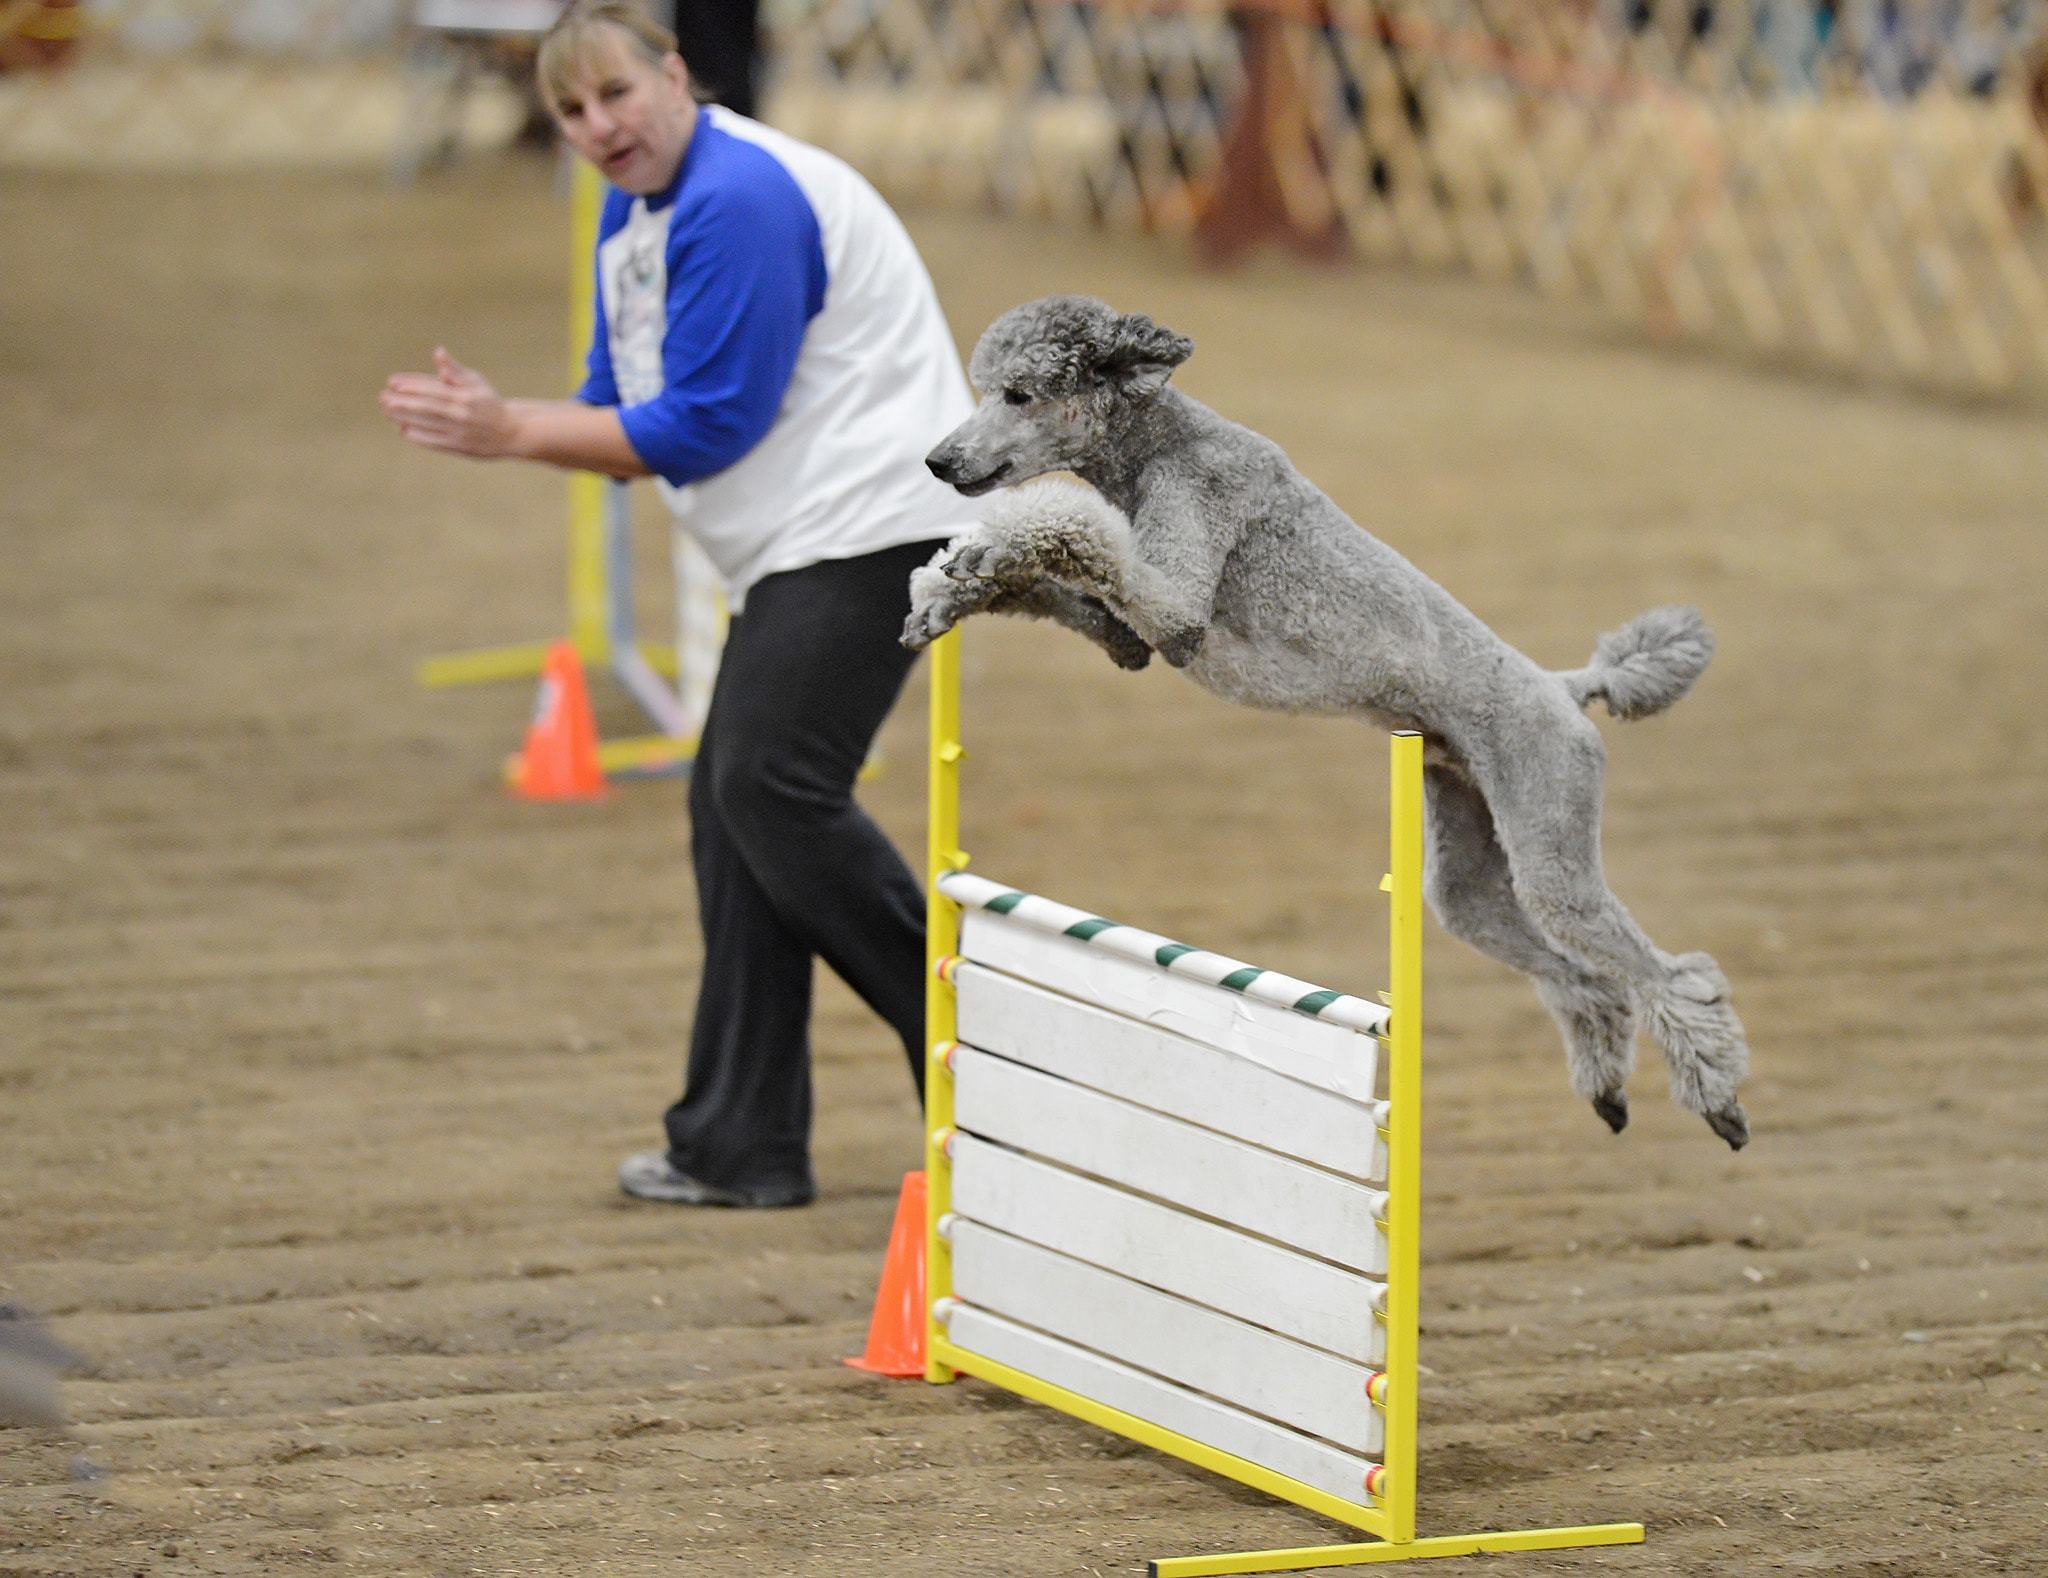
Standard jump
One of the main focuses of the dog agility course is the standard jump. Course officials adjust for the size of each dog and place jumps throughout the obstacle course.
The simplest way to construct a standard jump is to place cinder blocks on top of each other, with a piece of 2x4” wood or a broomstick extended across them for the jump.
You can also take it a step further and build an actual standard jump out of PVC piping.
This YouTube video demonstrates the process in detail.
Tire jump
Another obstacle your dog will have to navigate through in the competition is the tire jump.
Depending on the size of your dog and how “serious” you want to get with your at-home course, this can be created in two ways.
Hang a tire from a tree
The first way is to use an old tire and hang it from a sturdy tree branch. This is perfect for smaller dogs that can fit through the opening in the tire.
PVC frame with hula hoop
The second method is to build a frame out from PVC pipes and use a hula hoop or flexible sewer piping for the “tire.”
This YouTube video demonstrates how to construct a DIY tire jump out of PVC piping and the flexible sewer piping.
Tunnels
Running through a tunnel is the next obstacle your canine companion will be expected to do.
You can purchase an official dog tunnel to practice with online. They come in several different sizes and can be expensive.
However, for a fraction of the cost, you can purchase a tunnel made for a child. True, these may not be as sturdy as the obstacle course tunnels, but they are a good place to start. Also, it won’t be regulation size but it’ll allow you to train your dog to run through the tunnel and not around it.
This 6’ play tunnel for children at Amazon is a great option.
This YouTube video demonstrates how to tunnel train your dog.
Teeterboard
The teeterboard or see-saw obstacle is basically the same principle as the ones you might find at a park for children.
Agility training requires your dog to walk up the teeterboard, balance, and walk down the other side as it tilts toward the ground.
Out of all the agility equipment obstacles to make at home, this will be the one that takes the most do-it-yourself know-how and materials.
Once again you’ll need PVC pipes to build a base and the height requirement for the see-saw and aboard for the plank portion of the obstacle.
Also, you’ll want to mix in an anti-skid additive to the paint for the plank to give your canine some extra traction. This can be found at most hardware or paint stores.
This YouTube video demonstrates how to build your own teeterboard.
Pause table
The agility course pause table is just that, a table your dog jumps onto, sits, then jumps off to resume the course.
Making a pause table can be as simple as repurposing an old coffee table. Depending on the size of your dog, you may have to cut the legs to let jump on and off of it easily.
However, if you want to go all out and make your own PVC adjustable pause table, these plans will give you step-by-step instructions to get the job done.
Dogwalk
The Dogwalk is an elevated walking platform similar to a bridge that your dog crosses. It’s a test of your dog’s ability to stay on track and perform elevated off the ground.
Luckily it’s simple to construct one in your backyard. Here’s what you’ll need.
- picnic bench or piece of plywood
- 2 cinderblocks
Use the bench or ripe a single 4x8’ sheet of plywood in half lengthwise. Take one-half of the plywood pieces and cut it in half in the middle.
Now you should have one 2x8’ piece and two 2x4’ pieces. Set the 2x8’ piece on top of two cinder blocks. Then, lean the two shorter plywood pieces up against each end of the elevated walkway.
If you really want to dress up your dog walk you can paint it with more of your adhesive paint from the teeterboard.
Ready to train at home!
Before you get started, make sure your dog is able to follow basic commands such as sit, lie down, come, and stay.
Also, make sure you’ve left ample room in between each obstacle. This will ensure there’s a minimal chance of either them or you sustaining any injury.
Once you have all your equipment ready, you can work on training your dog on each obstacle. Be sure to always use positive reinforcement and plenty of treats to motivate your dog.
Help your dog weave through poles. Walk your dog over the teeterboard and dog walk. Have them pause for a predetermined amount of time on the pause box. Try to imitate the course they’ve been accustomed to at your agility classes and practice getting faster.
Once they’ve mastered each individual obstacle, take them through using verbal and hand commands, as well as treats for a job well done.
Obstacle training will take some time and practice, but in the end, your dog will have a new skill. Plus, their brain and body will get a great workout!
With time, you can add or remove obstacles, increase the difficulty by changing the order, or even just schedule a playdate with a canine classmate.
As always, remember to have fun!
Till next time,
Jordan
Feature image by: Mark Kimpel